
Audio-reactive shaders: write a GLSL music visualizer in your browser
A fragment shader is a small program that runs for every pixel of the screen, every frame. Give it a few numbers that describe the music right now, such as how loud the bass is or whether a kick drum just hit, and it becomes an audio-reactive shader: a visualizer you write yourself, in a few dozen lines of GLSL.
The hard part is usually not the shader but everything around it: capturing audio, running an FFT, smoothing the values, detecting beats, feeding them to WebGL. Deus Studio does that part for you, so you can open an editor in Chrome and start with the visuals.
What Deus Studio is
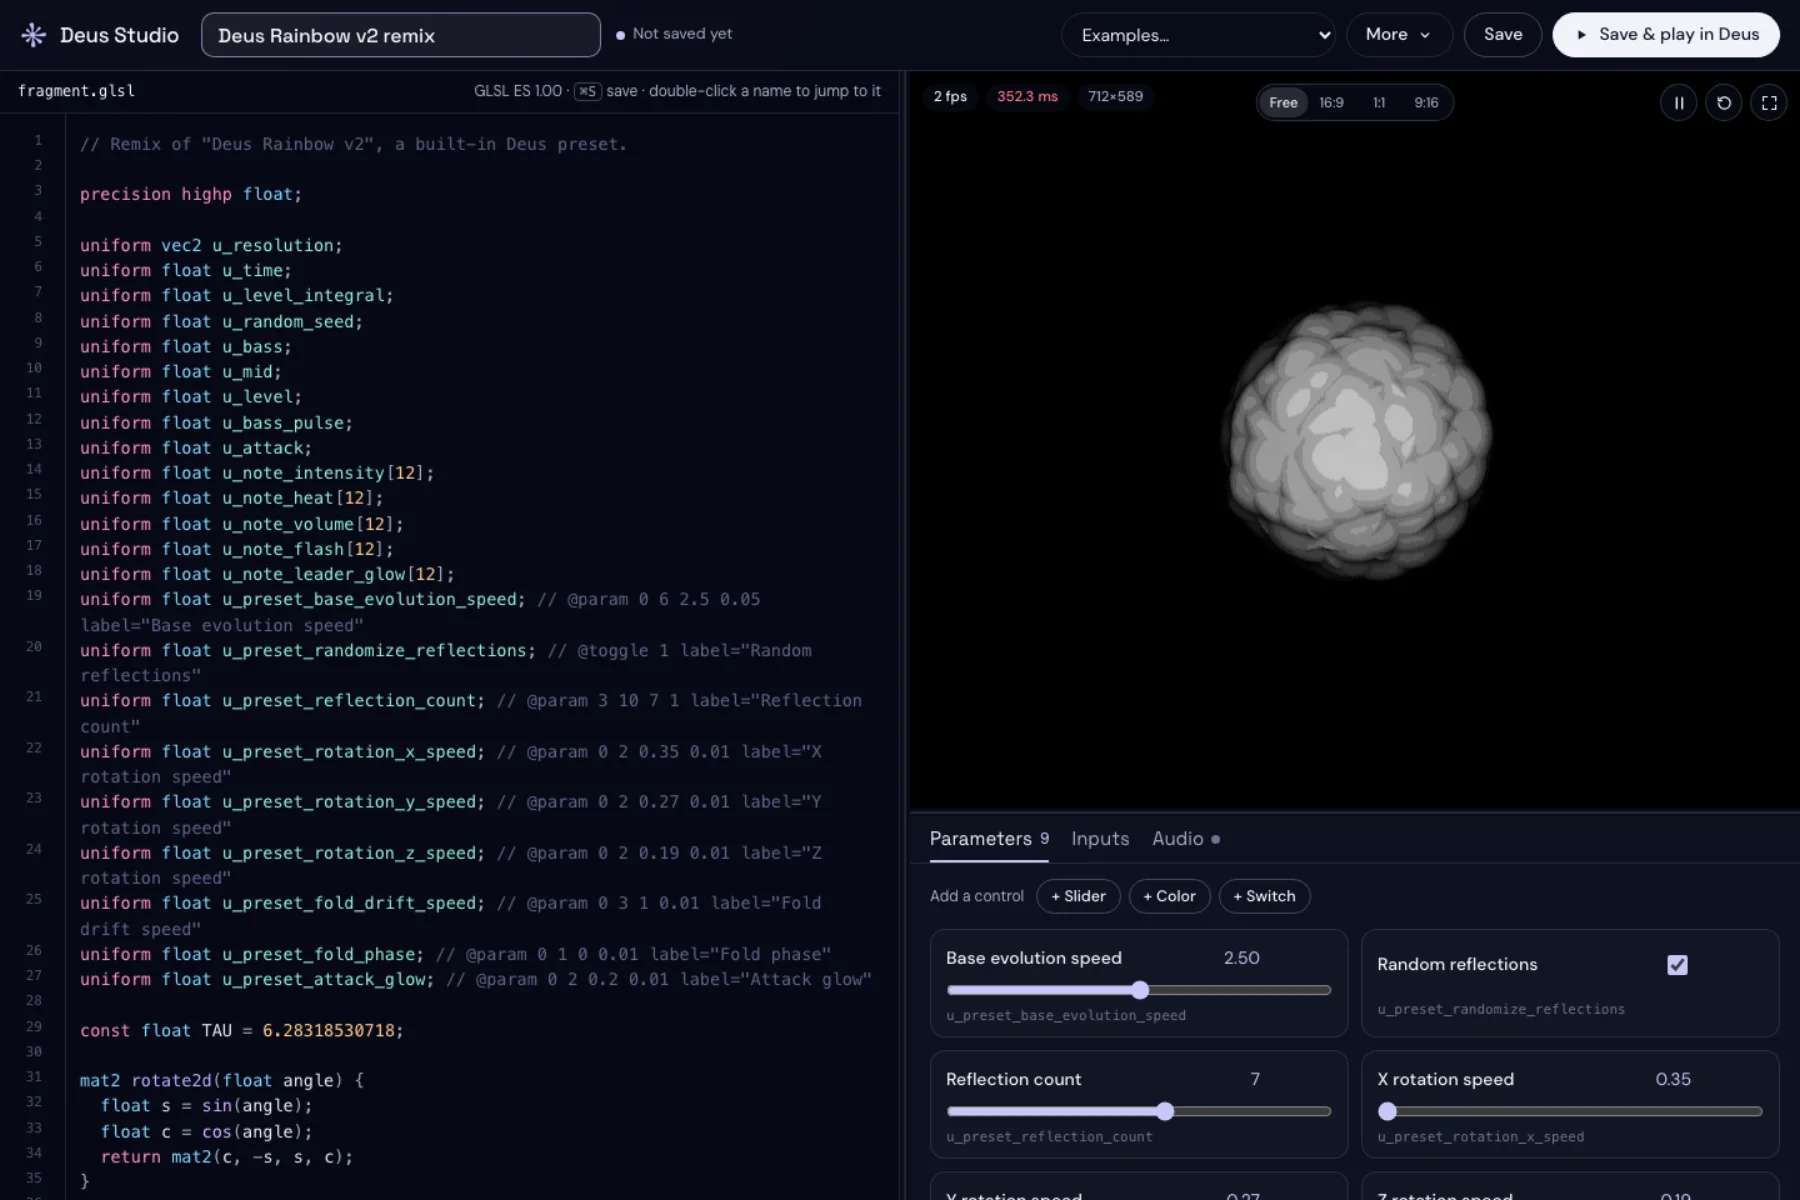
Deus Studio is a GLSL editor inside the Deus extension, connected to the real Deus engine. You write a fragment shader and see it react immediately to the tab Deus is listening to, or to an audio file from your computer. The preview uses the same uniforms, sound analysis and WebGL 1 renderer as the visualizer, so what you see in the preview is what plays in Deus. Studio is included in the Free plan.
To open it, start the visualizer for a tab (see the any-tab guide) and choose Create › GLSL in its menu. You can start from the Starter template, from the Audio inputs tour, which draws every audio input as a meter, or from an editable copy of any of the 70 built-in WebGL presets. The original preset stays unchanged.
The inputs your shader gets
Studio uses GLSL ES 1.00 and Shadertoy-style mainImage. Deus feeds every shader a set of uniforms, live, and you use the names directly with no declaration. A few of the most useful:
u_resolution: render size in pixels.u_time: seconds since the preset started.u_bass,u_mid,u_treble,u_level: the three bands and overall loudness, normalized 0–1.u_kick,u_snare,u_hihat: drum detectors, 0–1.u_attackspikes on every new sound;u_bass_pulseis a decaying pulse on bass hits.u_level_integral: a clock that runs faster when the music is louder. Use it instead ofu_timefor motion that follows the track.u_frequency[32]andu_waveform[32]: the spectrum from bass to treble and the waveform, 32 values each.u_note_color,u_note_intensity[12]and otheru_note_*inputs: note analysis for the 12 pitch classes, C to B.
Shadertoy's iTime, iResolution and iFrame work too, so snippets from there paste in with fewer edits. Hover any u_ name in the editor to see what it means and its value right now; the Inputs tab lists them all with live values.
A first audio-reactive shader
Here is a complete preset: a ring that breathes with the bass, jumps on every kick and spins faster when the track gets louder.
// A ring that breathes with the bass and jumps on kicks.
uniform vec3 u_tint; // @color #ff2bd6 label="Tint"

void mainImage(out vec4 fragColor, in vec2 fragCoord) {
  // Centered coordinates: y from -1 to 1.
  vec2 p = (fragCoord * 2.0 - u_resolution) / u_resolution.y;
  float r = length(p);
  float a = atan(p.y, p.x);

  float radius = 0.35 + u_bass * 0.35 + u_kick * 0.15;
  float ring = 1.0 - smoothstep(0.0, 0.04, abs(r - radius));

  // Stripes that turn faster when the music is louder.
  float stripes = 0.6 + 0.4 * sin(a * 8.0 + u_level_integral * 2.0);

  vec3 color = u_tint * ring * stripes;
  color += u_tint * u_hihat * 0.25 * (1.0 - smoothstep(0.0, 0.6, r));
  fragColor = vec4(color, 1.0);
}
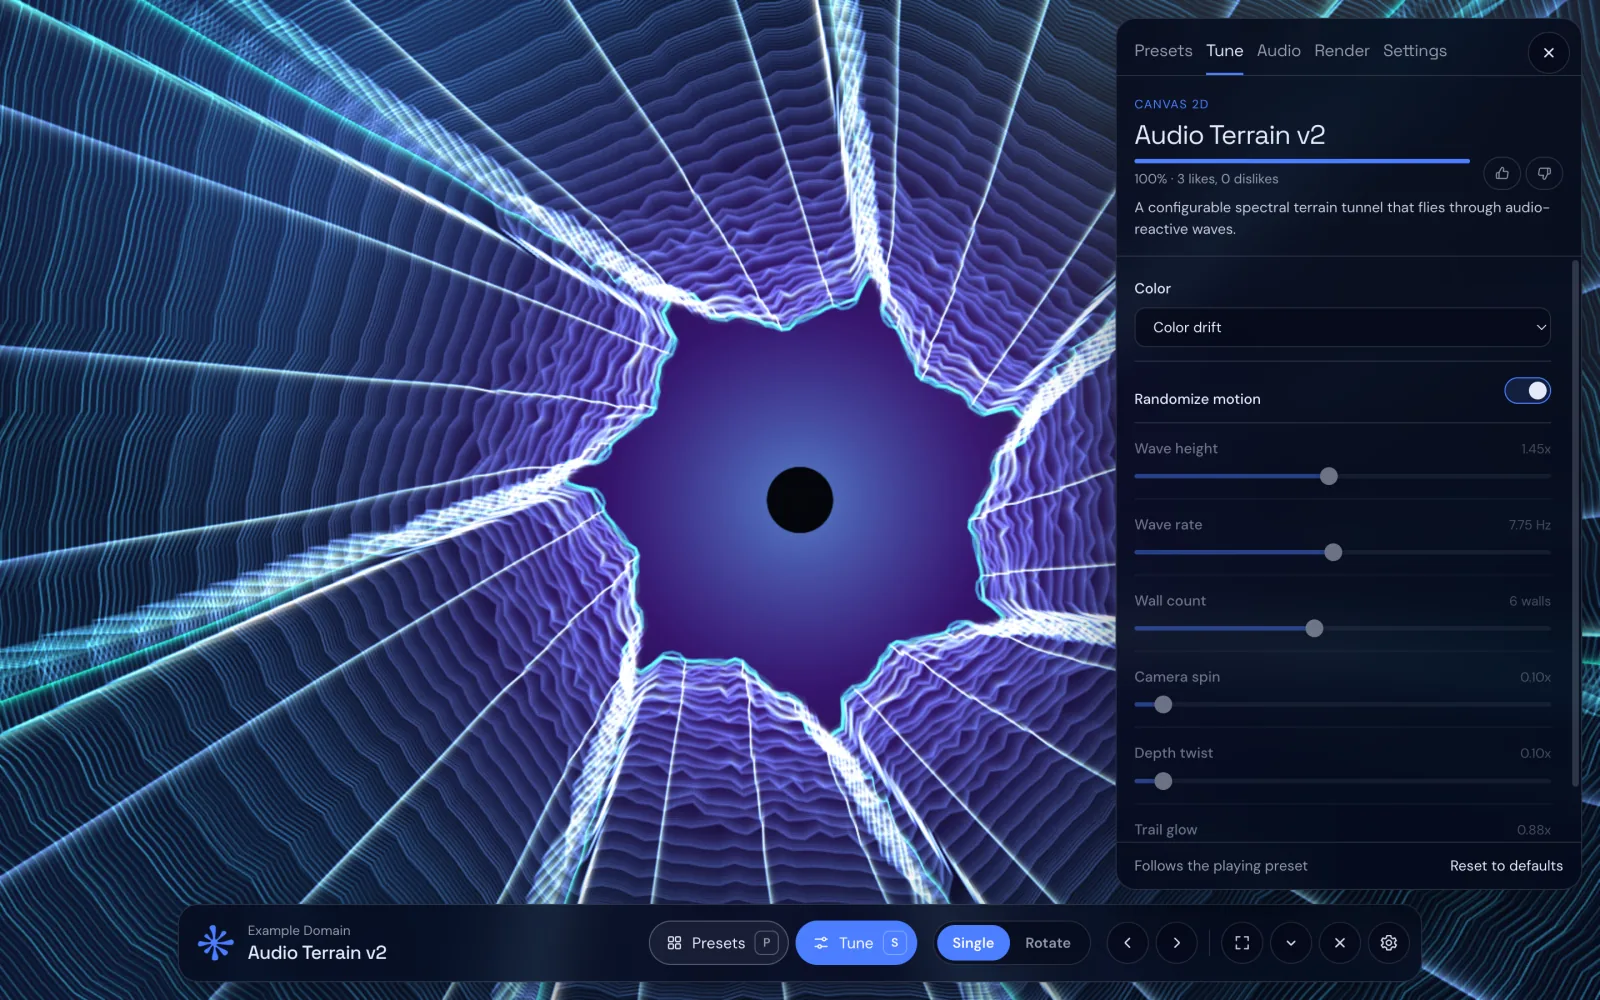
A few details worth knowing. Float literals need a decimal point (1.0, not 1). The // @color comment turns u_tint into a colour picker, both in Studio and in the visualizer's Tune panel. Sliders work the same way: uniform float u_speed; // @param 0 3 1 gives a slider from 0 to 3 with a default of 1, and // @toggle 1 makes a switch. Because each control is one line in the code, it travels with the shader.
Controls without typing
You don't have to write those comments by hand. Select a number in the code, or a vec3 colour, and press Make a slider: it becomes a control in Studio and in the Tune panel. Colour literals get a swatch you can click, and compile errors are marked on the lines that caused them.
Watch what the shader hears
The Audio tab shows the raw and normalized spectrum and the last 12 seconds of level, bass, mids, treble, attacks and detected drum hits, each labelled with the uniform that reads it. That makes tuning much easier: if the ring barely moves, you can see whether u_bass actually reaches 1.0 on this track, and scale your formula accordingly. The audio source can be the tab Deus is capturing or a track you choose from your computer.
Render passes, feedback and other names
Comments also set up rendering: // @pass buffA scale=0.5 adds a render pass that you read back as uniform sampler2D buffA;, // @feedback 0.09 fades the last frame instead of clearing it, which gives trails, and // @fps 30 caps the frame rate. If you are porting a Synesthesia-style shader, names such as syn_BassLevel, syn_Hits or TIME are set by the engine too; declare them in your code to use them.
Save it into Deus
Press Save (⌘S) and the preset appears in Presets › Custom with a thumbnail from the preview, or Save & play in Deus to switch the visualizer to it right away. Unsaved edits survive a reload as a draft, and your presets are stored locally in your browser.
From there your shader plays in the visualizer next to the built-in presets, so you can also put it up fullscreen on a TV or second screen. If you want to understand the analysis behind the uniforms, read how music visualizers work.